Sunday, November 30, 2014

My Happy Rick Rack Block and Novembers UFO finish!

We had two choices to work on in the Karen K. Stone class, Happy Rick Rack and Cactus Flower. Obviously I was going to do Happy Rick Rack--do you see the hexagons???
Happy Rick Rack

Cactus Flower

Here are both projects in person--sorry I didn't get more of Cactus Flower--you can tell where my interest lies....!

Karen has added some cool quilting and embellishments since the original photo was taken.
A lot of the quilting is bobbin work and done from the back of the quilt.
Karen called it her "60's" quilt--there are little embroidered daisies strewn through the border that were inspired by the daisy print she chose for the backing. 

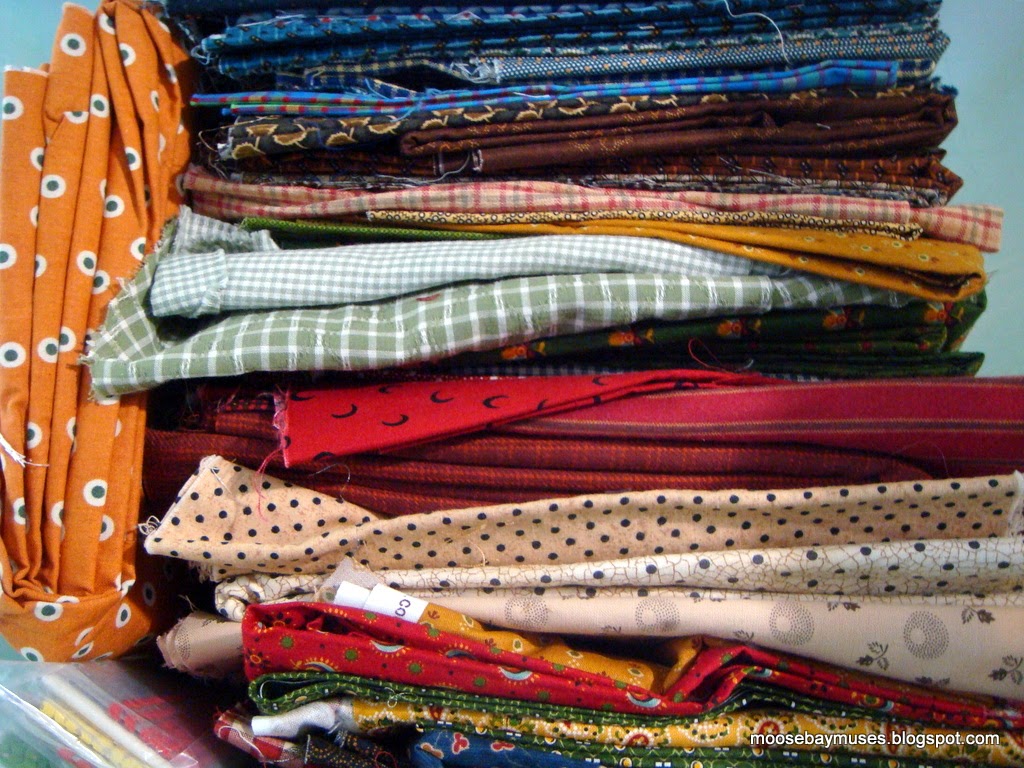
Since I had such short notice, it was a scramble to choose fabrics to take to class.
 Because of the type of quilts Karen does, my first instinct was to take along my "funky" fabrics I've been collecting for my Steam-punk and Fractured quilts.
 In the end, and after reading that she felt you could use any style of fabrics for Happy Rick Rack, I pulled out some of my brighter Jo Morton fabrics and threw in a few dots and checks.

This is the block I managed to finish in class--quite a challenge for a non-paper piecer.
We cut our paper block patterns into spirals, pieced them and then sewed them back together.
Only 31 more to go to make the top!

This is the beginning of  Sharyn's block for Cactus Flower.
 I love all the black prints with the brights and her fussy cut center! 

Today I will be doing some Slow Sunday Stitching and linking up at Kathy's Quilts.
This is my UFO finish for November--I quilted it yesterday and will be binding today.
I think for December's UFO finish I will dig down to the bottom of the tub and bring out an oldie!

Friday, November 28, 2014

More From Karen Stone

I hope you had a wonderful Thanksgiving!
We are doing our family celebration today--looking forward to that turkey! 
Temecula Quilt Company posted the last three Little Letters--so cute! I still need to sew up the sashing--already finished the cutting, so it shouldn't take too long.

In my last post I showed some details from Karen K. Stone's finished quilts that she shared with us in class. Today I have some detail photos of some "works in progress". 
This is all linen and uses her English paper piecing by machine technique.

Silk hexagons-- and again, English paper piecing by machine.

I love the combination of textures in this one--and more English paper piecing by machine.

Machine applique using all silk--gorgeous!

This is my very favorite--I can only imagine how wonderful it will look after Karen quilts it!

I'm not sure if it's the colors or all those circles that makes me love it!
More next time!
I'm determined to just collect the patterns for Bonnie Hunter's Grand Illusion Mystery Sew Along--I still have 2 unfinished mysteries: my Christmas Solstice and Easy Street, so I don't need a third one! I'll just watch from the side lines as photos are posted, and drool.

Wednesday, November 26, 2014

Amazing Monday!

On opportunity to take a class from Karen K. Stone this Monday fell into my lap last Friday (thanks Susie!) and I am so thrilled that I was able to do it. 
You probably are aware that Karen is the Queen of the New York Beauty block and you can see a lot of her quilts on Pinterest--a good board is HERE 

I will show what we actually worked on in class another day, but today I wanted to share some little peeks at some of her work. 
Her creativity and workmanship is amazing! 
This is a detail from her latest ribbon winning quilt.
The diamonds were English paper pieced by machine--a technique that she will be detailing in an upcoming book.
You can see the whole quilt HERE
Reptile Wisdom: First Place Traditional Pieced

The double points on this one she accomplished by "tucking" in fabrics.
I'm not sure how that works, but it is stunning!

Reverse applique by machine.

Raw edge applique leaves with ribbon stems.

I love these clam shells.

More reverse applique (upper left) and fun quilting. The double binding is cool too.
She does all her fun quilting on a domestic machine. 
I don't want to overload a post with too many photos, so this is to be continued........

Sunday, November 23, 2014

It's a Top!

Yay!!!
All the components have come together and Words To Live By is a completed top.
Hopefully I have some fabrics appropriate for the back.
 I didn't have room on the design wall to show the whole thing--the quilt is big--almost 90" square.

My Stitching Society pin cushion went together a lot easier than I thought it would.
I gathered the sides of the bottom hexagon using a matching floss in case it ended up showing.
I sewed 5 of the sides with a quarter inch seam on my sewing machine--worked out great!

Turning and stuffing was another story--haha!
There is a muslin pocket inside that I filled as much as possible with crushed walnut shells.
I wasn't happy with the corners, so I used a chopstick to work some poly stuffing into them.
Now I know why the pattern has mini yoyos on each corner!
I may add some felted wool balls if I find the right color. Otherwise, I am okay with it now. 
Back to the hand stitching on my wooly hexagons....

Thursday, November 20, 2014

Happy Dance!

My Words To Live By borders are finally pieced--hopefully all the components will come together into a top this weekend.
You may have noticed that the color placement of the half square triangles in all four borders is exactly the same (unless I messed up!).
A chart in the pattern shows how to sew the HST's together. My first thought was to just wing it and start sewing. Then I reconsidered and decided it may be a good idea to follow the layout, as it may help with distributing the colors evenly around the center of the quilt.

Unfortunately, I ran out of black HST's toward the end of the fourth border--ack!
Fortunately, I had extra fabric, so I was able to make 36 more.
Because of the size of the flannel board I have set up next to my sewing machine, I found it easiest to make the borders in sections of 4x8 HST's rather than the longer sections shown in the pattern.

(If you are planning to make Words To Live By, you may want to make a note in your pattern where it tells you to make a total of 672 Half Square Triangle:
You will need 372 black, 216 red, and 84 green Half Square Triangles.
In the cutting instructions for cutting the 16- 2 7/8"squares from assorted dark fabrics,
you will need to cut 6 black, 6 red, and 4 green.)
Yes, I did count all those Half Square Triangles.
Yes, I am a bit anal.
You're welcome!

Tuesday was the Breezy Point sew-in. We had lots of fun and some great show and tell.
This is Brenda's gorgeous Simply Red all quilted and ready to be bound
.

Caroline brought a pretty Paris themed quilt she made for her daughter.

Fun swirly quilting.

Val brought her beautiful batik version of Bertie Through the Year--there will be borders added to make it bed size.

So cute--all the embroidery is done by machine.

Such fun blocks--I can't believe I resisted making this quilt!!

And Sandi is hand quilting her Love Letters quilt by Blackbird Designs--it's going to be stunning!!!

Sunday, November 16, 2014

November Stitching Society Project


This month, the Stitching Society project is a pincushion, which is great--only one hexagon required for a busy, busy month! 
I couldn't decide what design to use, so I went with #7--the day of my birthday.
It looks like I can do some fun stitching on it: Ala Sue Spargo.

I chose some really bright fun colors for a change.
It's been pretty dark and dreary outside, so I need a little cheering up!

While I'm stitching on this today,
 I will be contemplating how the heck I will sew the small top and large bottom hexagons together.
 The pattern says to "gather slightly". Hmmmm..... 

Slow Sunday Stitching

linking up to Kathy's Slow Sunday Stitching HERE--check it out!

Friday, November 14, 2014

I was (am) a HST Zombie

I get bored distracted, and my mind starts to wander to more fun things than putting these zillions of triangles together.
I think I am going to see Half Square Triangles in my sleep if I don't get them finished soon.
Two outer borders done--two to go!
 '

The setting triangles are all sewn onto the appliqued blocks.
They need to be squared up to 17.5 inches--not easy to do and keep the design centered when your largest square ruler is 14.5.
That's why they are still sitting on the cutting board. 

Luckily, when I was at Joanne's with my Veteran's Day 60% off coupon in my hot little clutches, the rulers were NOT on sale, allowing me to be able to use said coupon--yay!
 I was able to get a 20.5" ruler for just a bit over 20 bucks. I'm not sure how often I will need to use it, but it was a necessary purchase to finish up my Words to Live By quilt. 

Okay, back to those triangles. Yeesh.....

Wednesday, November 12, 2014

Another Woolie Wednesday

I'm kind of slacking off on finishing my Words to Live By piecing. I think it's all the snow we have already--I just feel like snuggling up with some hot tea, a mystery on TV, and my wool hexagons. 
Soooo....that means I have lots of hexies to show!
These 5 I restitched--I had already made these designs for my fall wall-hanging.
My plan is to put all 180 designs into a wool throw--we'll see how that works out next year.
I already showed you the Owl  HERE;  the rest of the 15 fall hexagons are:

Apple Tree

Leaves and Berries

Harvest

Cornucopia 

Sunflower House

Apple Basket

Pumpkins
Scarecrow

Lastly--the Turkey!
That's it for Autumn--next up: Christmas, of course!